README

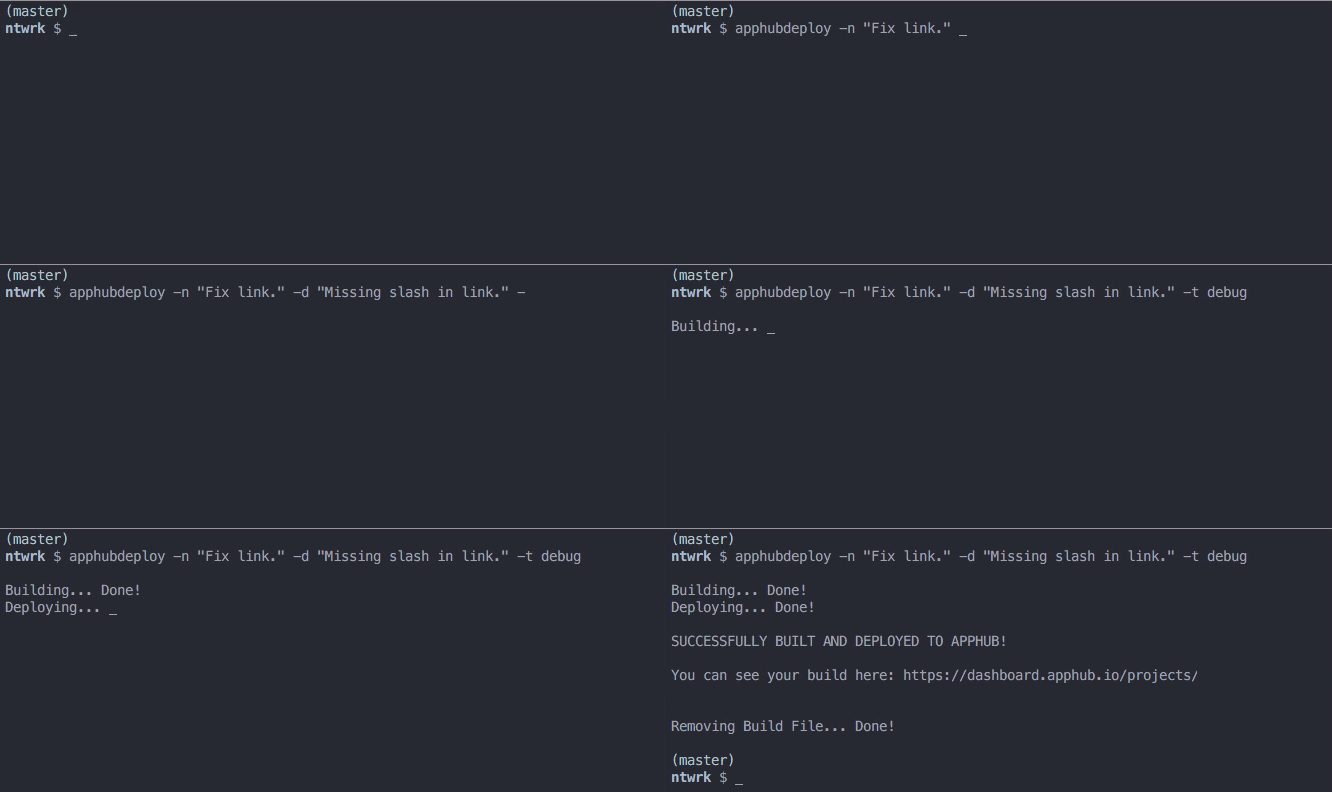
Build and Deploy to AppHub.io in one fell swoop.

Installation
npm install --global apphubdeploy
This will install AppHubDeploy globally so you can use it in all of your AppHub projects without installing it for each one.
Usage
Run from your project root directory.
This will build and deploy to AppHub.io with the default settings:
$ apphubdeploy
Build and Deploy with Options
The real power of AppHub Deploy comes when you add options such as -t / --target allowing you to deliver over-the-air (OTA) updates to your users via AppHub.io without ever leaving the command line. Powerful stuff!
For example, this will create and deploy a build with a name and description that's targeted to your debug users who are running version 1.0.3 of your app:
$ apphubdeploy -n "Build Name" -d "Build Description" -t "debug" -a 1.0.3
Less time clicking and more time being awesome.
AppHub Credentials
The first time you call apphubdeploy in a project directory it will prompt you for your AppHub ID and AppHub Secret, which can be found on the settings panel of your AppHub.io account.
Your AppHub credentials will be stored in a .apphub file that is readable only by you for security. Going forward, it will try to read your AppHub credentials from this file instead of prompting you.
In the event that you need to change your AppHub credentials, either modify the .apphub file itself or simply run apphubdeploy with the --configure option, like apphubdeploy --configure, and you will be prompted for your credentials again.
.apphub File
In the event that you're creating the .apphub file yourself, for example with an integration server, here is the sample format for the file:
{"appHubId":"thisismywonderfulapphubid","appHubSecret":"andthisismywonderfulapphubsecretshhhhh"}
Options
You can pass a number of options to the apphubdeploy command in order to specify how the build will be treated by AppHub as well as other options for the CLI like --verbose.
You can get a list of all the options by passing -h or --help as an option:
$ apphubdeploy --help
AppHub Build Options
| Short Flag | Long Flag | Description |
|---|---|---|
-a |
--app-versions <app-versions> |
App Versions separated by commas that are compatible with this build. Either do not use a space in between version or wrap it in quotes. Example: -a 1.0.3,1.0.4 Defaults to value in Info.plist of build file. |
-d |
--build-description <description> |
Description of the build. Wrap in quotes if it includes spaces. |
-e |
--entry-file <entry-file> |
The entry file for your application. Defaults to index.ios.js. |
-n |
--build-name <name> |
Name of the build. Wrap in quotes if it includes spaces. |
-p |
--plist-file <plist-file> |
Specify a custom .plist file path. Defaults to Info.plist. |
-t |
--target <target> |
One of all, debug or none which specifies the target audience of the build. Defaults to none. |
Other Options
| Short Flag | Long Flag | Description |
|---|---|---|
-c |
--configure |
(Re)Configure AppHub ID and Secret key. |
-h |
--help |
Output usage information. |
-o |
--open-build-url |
Open AppHub Builds URL with your default browser after a successful build and deploy. |
-r |
--retain-build |
Do not remove the build after a successful deploy. By default it will be removed. |
-v |
--verbose |
Unleashes "Chatty Kathy" to the STDOUT - great for debugging! |
-V |
--version |
Output the version number. |
Many Thanks To
- My friend Irfaan for tirelessly helping test the early versions and providing endless encouragment.
- Matt over at AppHub for testing their REST API with me.
- The AppHub.io Platform, in general, for producing such a useful and easy-to-use tool that inspires and streamlines our development.
License
The MIT License (MIT)
Copyright 2016 - Time.now() by Joshua Pinter